
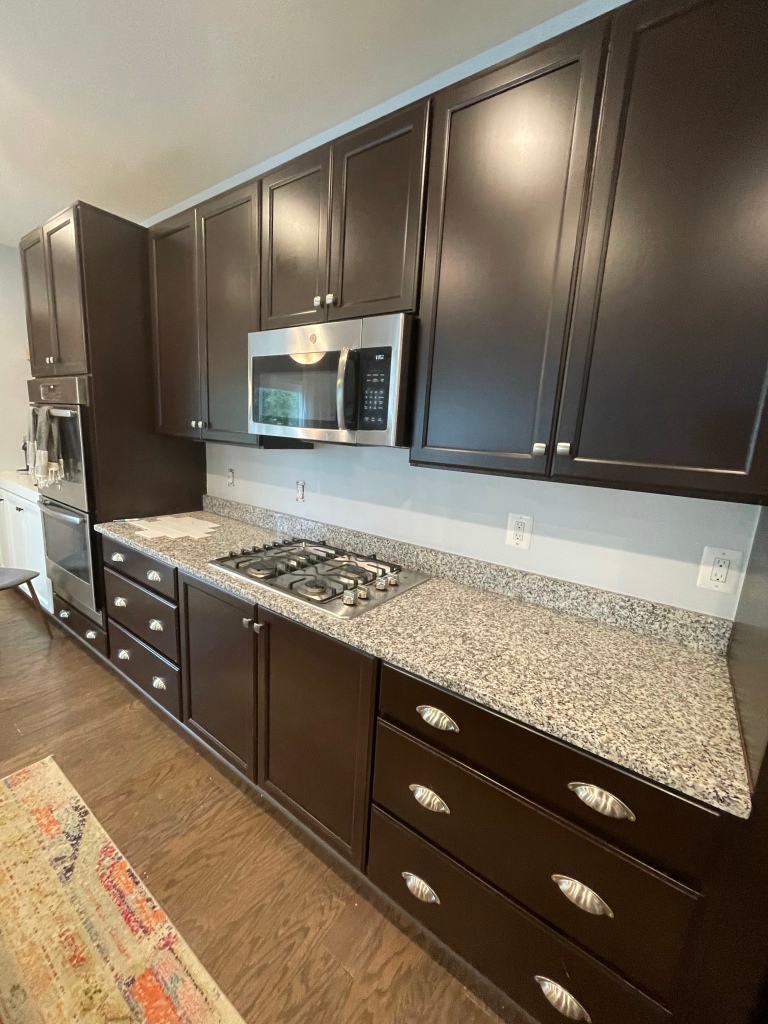
When we bought our house we really loved the kitchen layout and space but it wasn’t exactly what we would have picked if we built it. Our kitchen gets a lot of light but the dark cabinets just didn’t create the brightness and openness that we wanted! Part of the transformation included painting the cabinets. We have a separate post here on painting kitchen cabinets. The builder grade kitchen didn’t have a backsplash either, it was just drywall. We really wanted to just go the easy route and do peel and stick tile but ultimately decided to forego the short cut this time and give tiling a shot! We’re so happy we gave it a shot, it was time consuming but wasn’t as difficult as we envisioned.
Before:
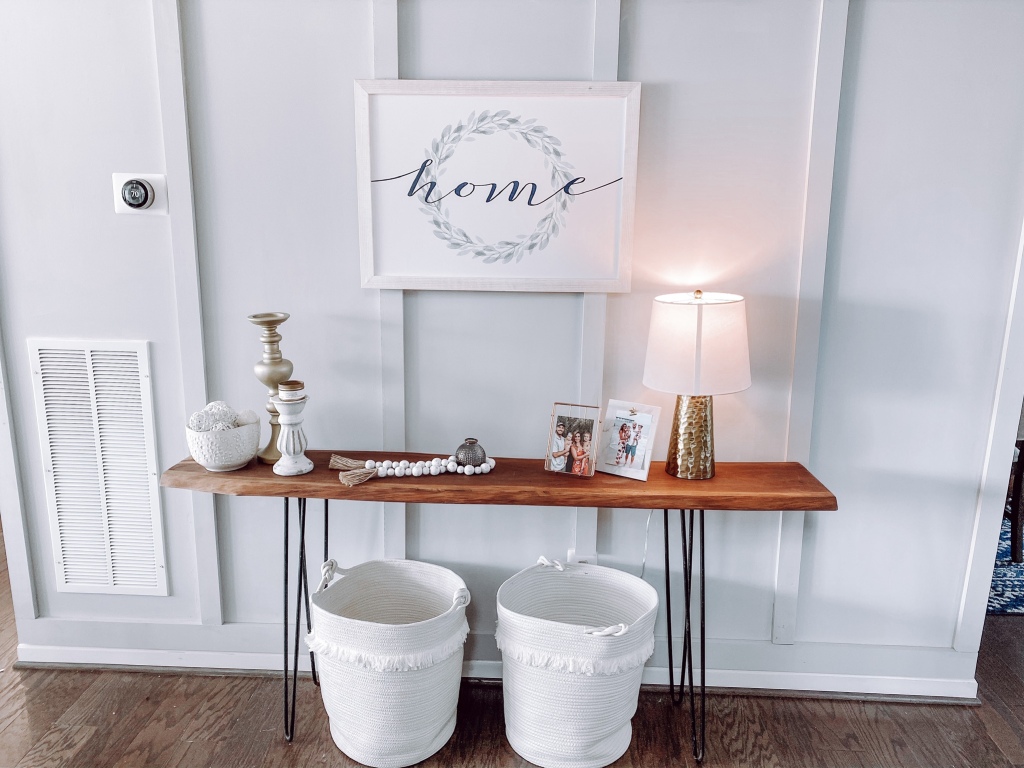
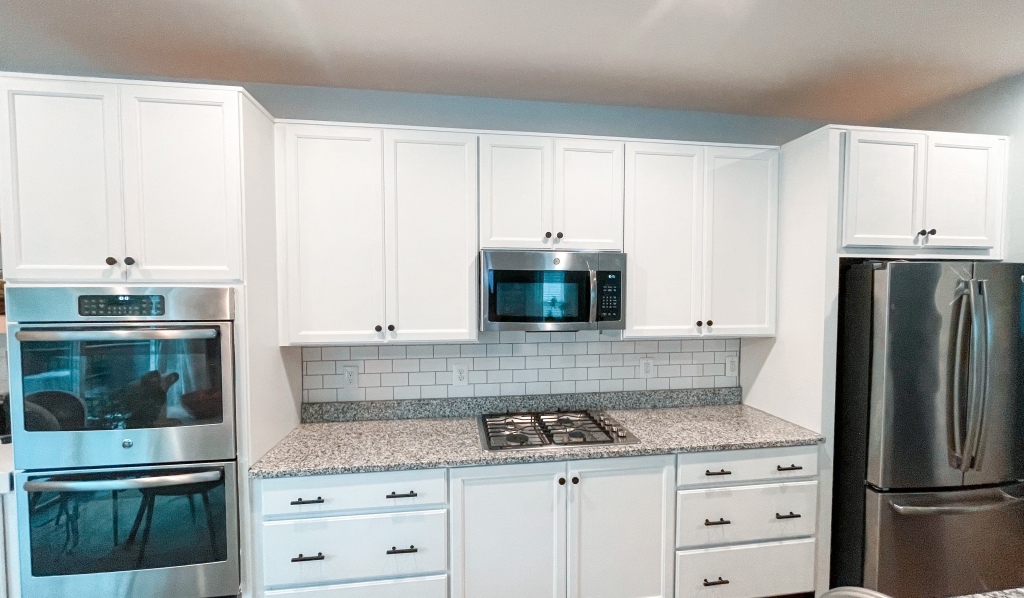
After:
Tile Supplies
- Cabinet pulls
- Ryobi Drill
- Gray Grout
- Wet tile saw
- Grout float
- Tile File
- Tile Adhesive
- Painters Tape
- Grout Sponge
- Outlet Spacers
- Tile
- Tile spacers
- Wedge spacer
- Trowel
Step 1 Prep and Measure Wall
The first step is prepping the wall for tile. This includes removing all outlets, cleaning and wiping the wall down. We used a sander to smooth out anything that was rough to the touch. You want the surface to be completely clean and smooth. We got our tiles on sale and just picked up a few boxes and figured we can return what we didn’t use. There is a formula for determining the amount of tiles based on your wall size but we just estimated. The wall measurement you’ll need is the width of the wall. We started tiling directly in the middle of the wall (measure the tile length – ours was 6 inches), we put the 6 inch tile directly in the center of the wall and center of tile (3) inches to start.
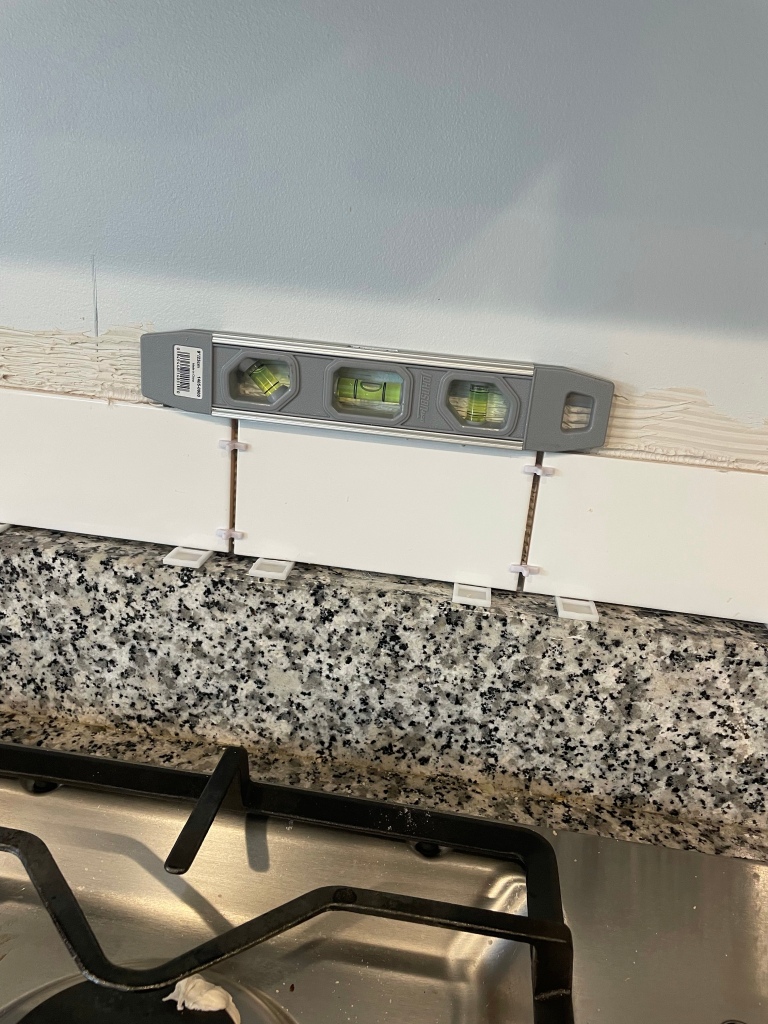
Step 2 Laying the Tile
As you lay the tile youll also want to use a level to make sure its straight. We had a backsplash that the tile rested on so made it easy to keep it level. We used a wedge spacer on the very bottom row as shown:
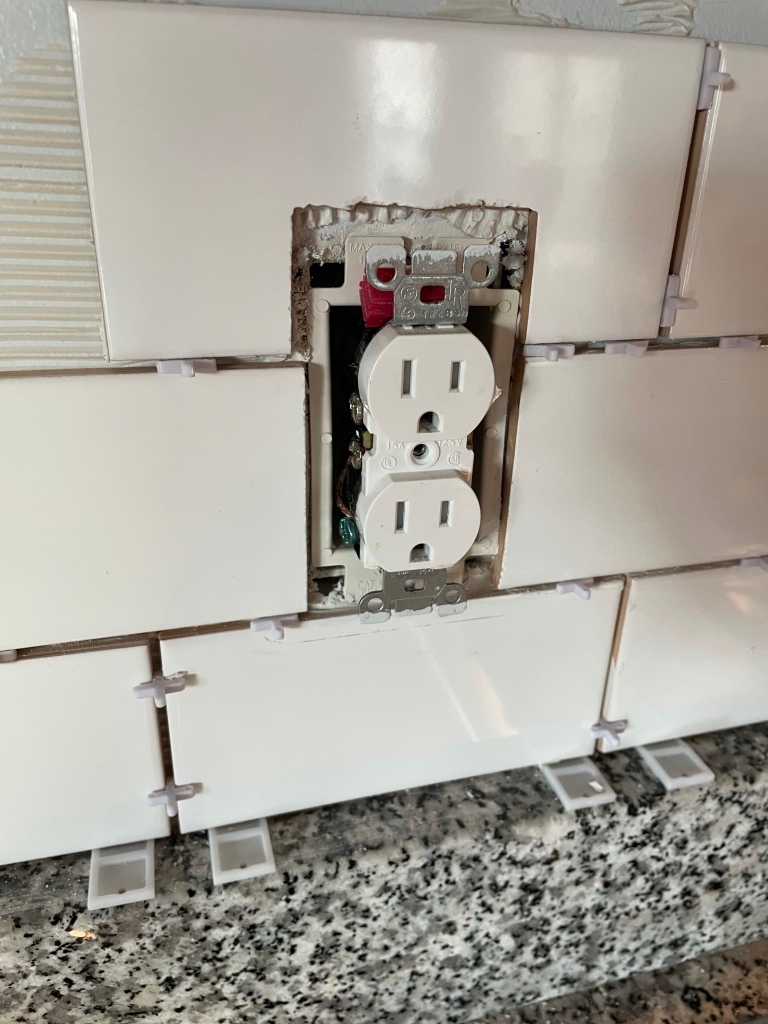
To apply the adhesive we used a plastic notched trowel and used the 3/16th” 5mm side to spread the tile adhesive. Be mindful that it does dry pretty quickly so spread it in small amounts, and be prepared to get the tile up right away after its spread. As mentioned its best to start tiling in the center and bottom of your wall and work outwards. Use tile spacers to keep even distance between tiles and again use the level. Put the tile adhesive on evenly and keep it dispersed enough so the tile lays flat. The next challenge can be outlets. Use outlet spacers to pop the outlet out so that the face plate rests flat underneath the tile. More detail to come on cutting around the outlets in the next section. Continue laying the tile from the center outwards until you reach the edge. You may need to cut the end tiles to fit the space. The first row is easiest since you arent dealing with any measurements related to the design you choose. We went with the traditional “Running Bond 1/2 Offset” which looks like this:

Each tile is placed half way between the tile above it.
Cutting Around Outlets
This was probably the most challenging part of the whole project, we may or may not have ruined a few pieces of tile with a few trial and error cuts. There are two basic ways youll need to cut around the outlet based on where the tile lies on the wall and where the cut needs to start. The first of which is just a simple cut out from the side of the tile where you’re just cutting off a corner. Just turn the tile to make the cuts so it looks like this:

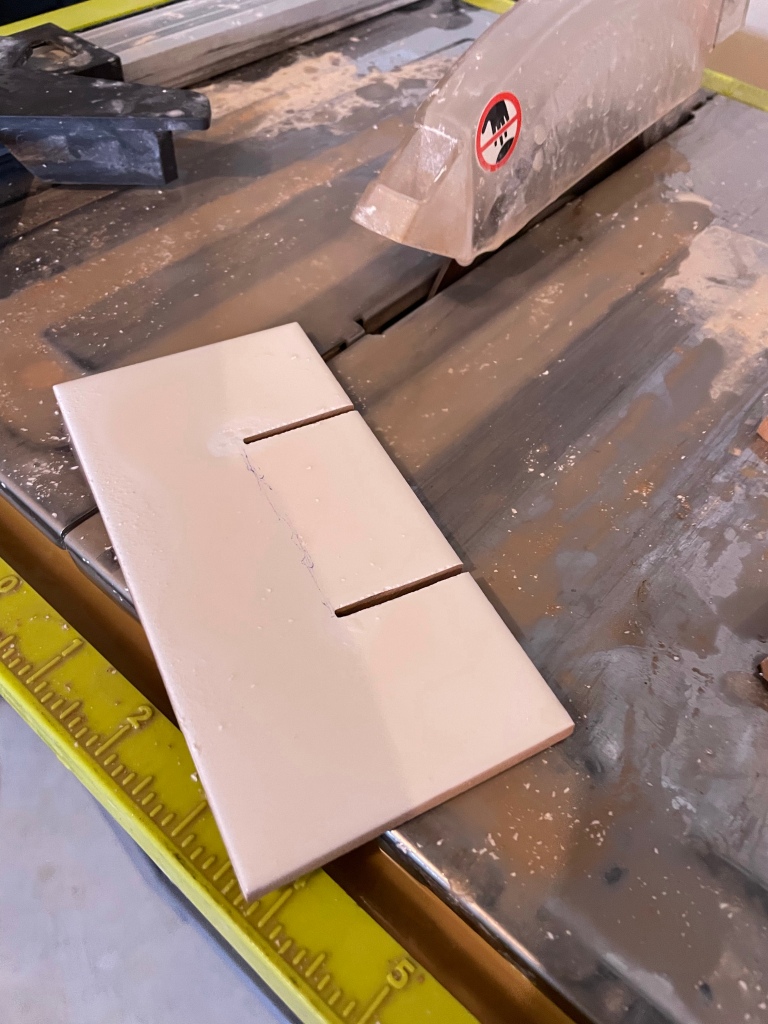
The second way requires multiple cuts with the tile saw to do a cut out around the outlet where the cut out (and outlet) is at the center of the tile. I just used a pen to draw a rough outline for cutting it

Do the two end cuts first so it looks like this:
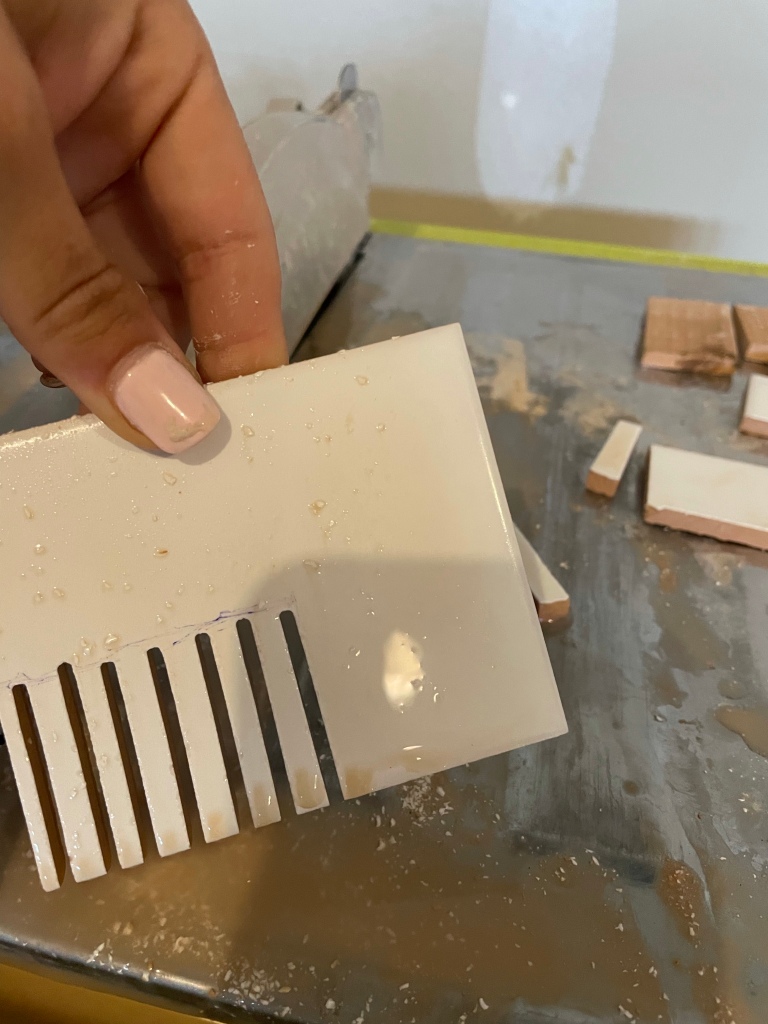
Then you’ll make a bunch of cuts down the middle so you can then break off the pieces. They do have tile cutters but I didn’t need to use any. They broke off pretty well, and then use the tile sander to smooth it out. Keep in mind most of the cut will be hidden behind the outlet so it doesn’t need to be perfect.
This is what the end result looks like:
Step 3 Grout
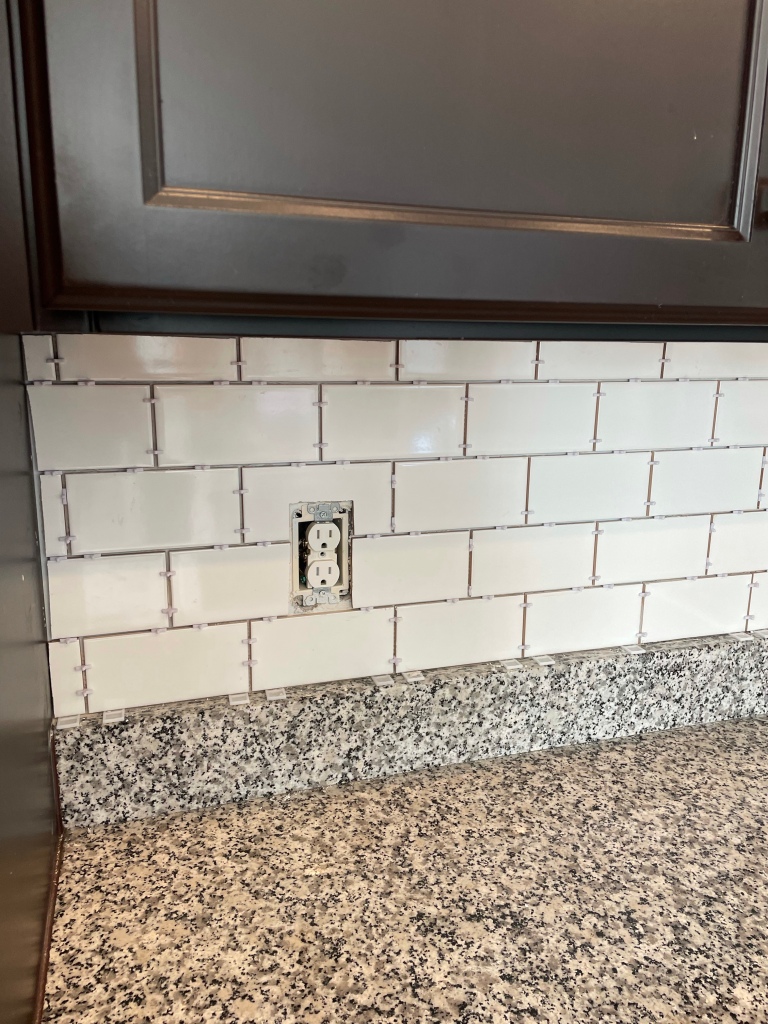
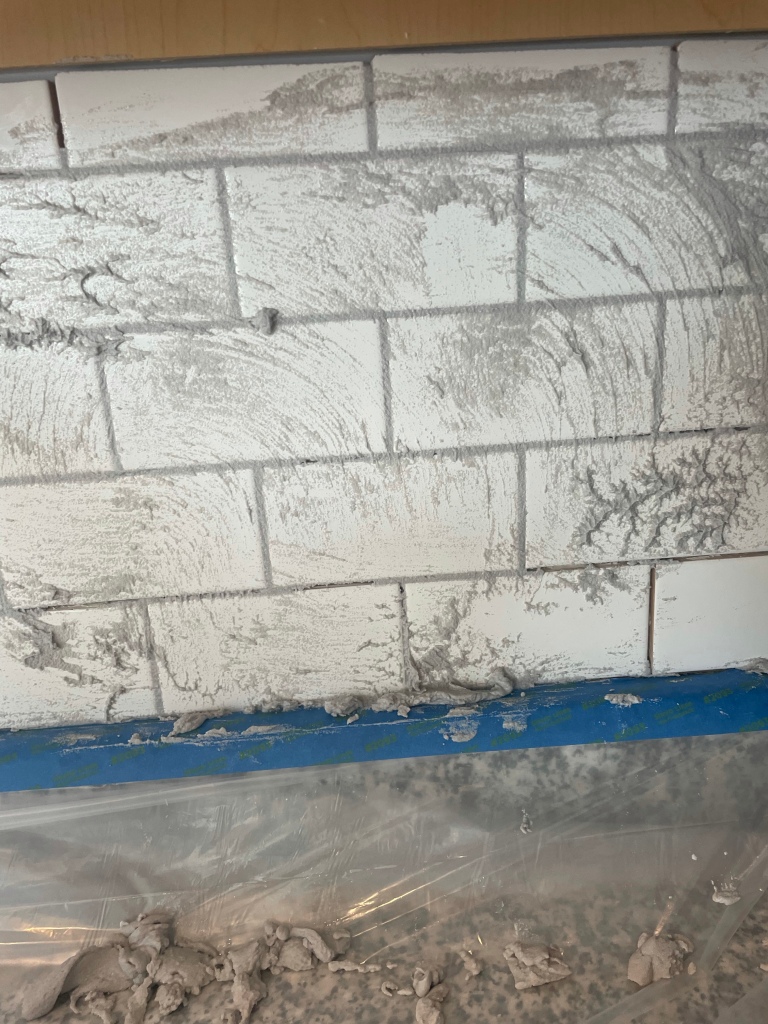
Here is what the wall looked like before we put the grout on:
We went with a pre mixed light gray grout. It really makes the white tile pop and will be easier to keep clean! To apply the Grout we used our rubber grout flout. We basically just dipped it in the grout and spread it on the wall, its more watery than excepted but you get the hang of spreading it after a few times. Be sure to wipe it at different angles to really get in the cracks and angle the float different ways.
Similar to the way you do the tiles, do the grout in sections so that it doesn’t dry. After the grout is filled in the cracks, wipe with your grout sponge so that it’s clean.
Lastly make sure to use your put your outlets spacers on to pop the outlets out to lay flush on your tile when you put the cover on. Here is the end result:

This post contains affiliate links, meaning, at no additional cost to you, we will make a commission if you click through and make a purchase. Thanks for the support!